


Before cleaning chrome trim after replacement, prepare a kit with microfiber cloths, isopropyl alcohol/car cleaner, soft-bristled brush, vacuum, gloves, and safety glasses. Test solutions on a small area. Clean thoroughly using degreaser, pressure washer, putty knife, and a soft cloth dampened in warm water. For stubborn stains, use dedicated chrome cleaner or mild car soap, rinsing well to prevent residue. This meticulous process enhances appearance, protects trim, extends lifespan, keeping vehicle pristine.
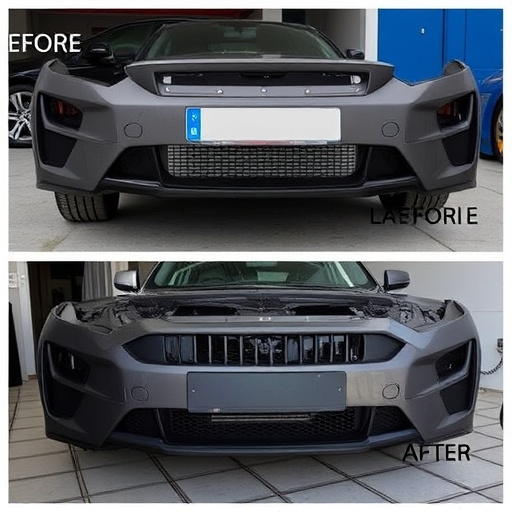
After successfully replacing your chrome trim, proper cleaning ensures a stunning finish that shows off the quality of your work. This guide provides a step-by-step approach to meticulously clean your newly installed chrome trim. Begin by preparing the necessary tools and materials, including specialized cleaners and microfiber cloths. Then, carefully remove old trim debris and thoroughly clean the surfaces for optimal results post-chrome trim replacement.
- Prepare for Cleaning: Gather Tools and Materials
- Step-by-Step Guide: Removing Old Trim and Debris
- Effective Cleaning Techniques: Restore Chrome Trim's Shine
Prepare for Cleaning: Gather Tools and Materials

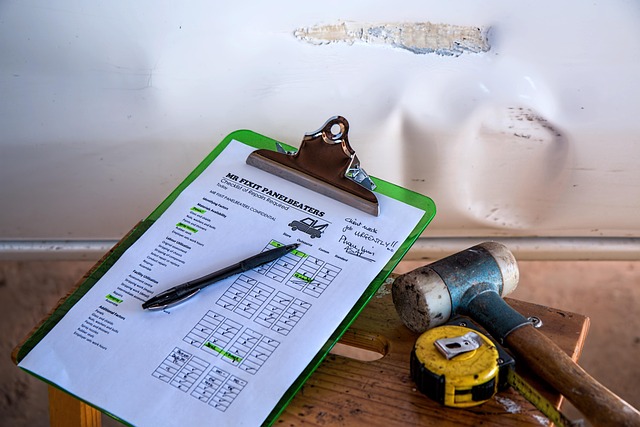
Before diving into the cleaning process, it’s essential to prepare the right tools and materials for a thorough yet safe chrome trim clean. For effective chrome trim replacement followed by proper cleaning, you’ll need a few specific items. Start with a set of microfiber cloths, ideal for gently wiping down surfaces without leaving scratches. Additionally, gather isopropyl alcohol (or a dedicated car cleaner), which is excellent for removing grease and grime. A soft-bristled brush can help reach tight spaces and corners, while a vacuum cleaner with a small nozzle will suck up any dust or debris.
Don’t forget protective gear, such as gloves to safeguard your hands from chemicals, and possibly safety glasses to protect your eyes from any splashes. For more severe dent repair or car damage repair cases that may have left behind stubborn marks, you might need a chrome cleaner specifically designed to tackle tough stains. Always test any cleaning solution on a small, inconspicuous area first to ensure it won’t cause discoloration or damage to the newly replaced chrome trim.
Step-by-Step Guide: Removing Old Trim and Debris
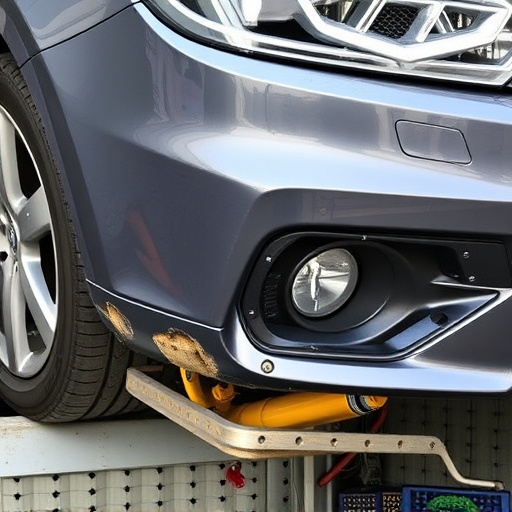
After successfully replacing your chrome trim, the next step is to ensure a thorough cleaning for an optimal finish. Begin by gathering the necessary tools, including a soft cloth, degreaser suitable for automotive use, and a pressure washer (if available). Start by removing any loose debris or dirt from the area using the pressure washer. This initial step will help you achieve a cleaner surface for the subsequent cleaning process.
Next, carefully inspect the trim for any remnants of old adhesive or residue left over from the previous installation. Use a sharp tool like a putty knife to gently pry away and remove any stubborn adhesive. Once the old trim is completely off, use the degreaser to clean the area thoroughly. Apply the degreaser with your cloth, working in small sections at a time, and ensure you reach every nook and cranny. This step is crucial when it comes to preparing the surface for new chrome trim replacement, especially after a fender bender or automotive accident that may have left behind traces of grime and debris from an automotive body shop.
Effective Cleaning Techniques: Restore Chrome Trim's Shine

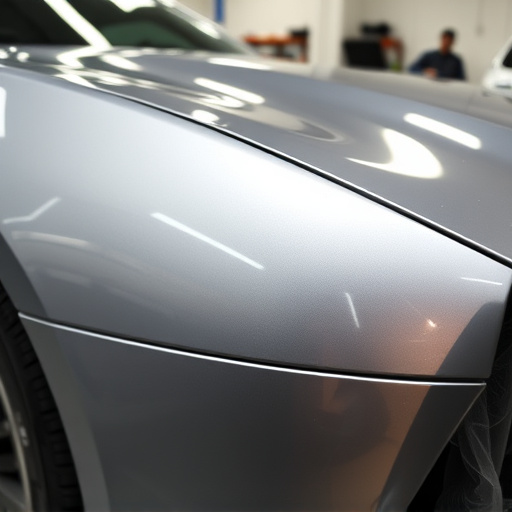
After successfully replacing your chrome trim, it’s crucial to employ effective cleaning techniques to restore its gleam and protect the new installation. Start by wiping down the trim with a microfiber cloth dampened in warm water. This initial step helps remove any loose dirt or debris that may have accumulated during the replacement process.
For more stubborn stains and smudges, consider using a dedicated chrome cleaner or a mild car soap solution. Apply the cleaner onto a soft brush or cloth and gently scrub the trim’s surface. Be sure to follow the product instructions for best results. Rinse thoroughly with clean water afterward, ensuring no residue remains. This meticulous cleaning process will not only enhance the visual appeal of your freshly replaced chrome trim but also safeguard it from premature fading or damage in the long run, extending its lifespan and keeping your vehicle looking pristine at all times, just like a visit to a reliable car body shop for professional car paint services would.
After successfully replacing your chrome trim, proper cleaning is essential to maintain its sleek appearance. By following these steps—from preparing your tools to effective cleaning techniques—you can restore and preserve the shine of your newly installed chrome trim. Remember, regular upkeep will ensure your chrome trim remains a stunning accent for years to come, enhancing your vehicle’s overall aesthetic in the process.