


Chrome trim replacement involves understanding material (plastic, metal, acrylic) for proper restoration techniques. Prepare by cleaning, sanding, and organizing tools. Post-replacement care includes regular washing, polishing, and clear coat application to preserve shine and lifespan of new trim.
“Looking to maintain the sleek, shiny look of your vehicle’s chrome trim after a replacement? This guide offers invaluable insights for car owners. We explore the different materials and varieties of chrome trim, providing essential preparation tips before installation. Additionally, learn post-replacement care routines to ensure longevity and restore that glossy finish. Discover simple yet effective methods to keep your chrome trim looking brand new, even after a repair or upgrade.”
- Understanding Chrome Trim: Materials & Varieties
- Preparation Tips Before Replacement Installation
- Post-Replacement Care: Ensuring Longevity and Shine
Understanding Chrome Trim: Materials & Varieties

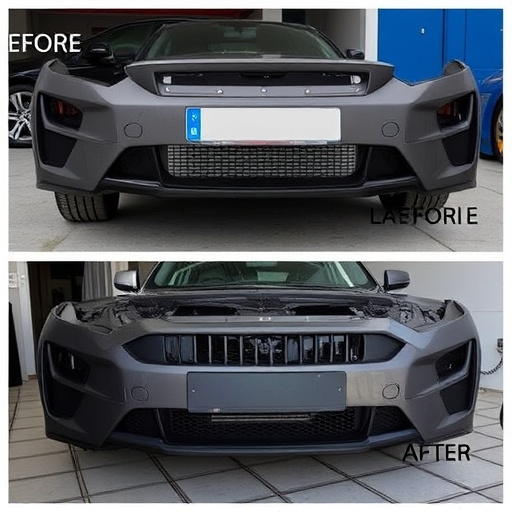
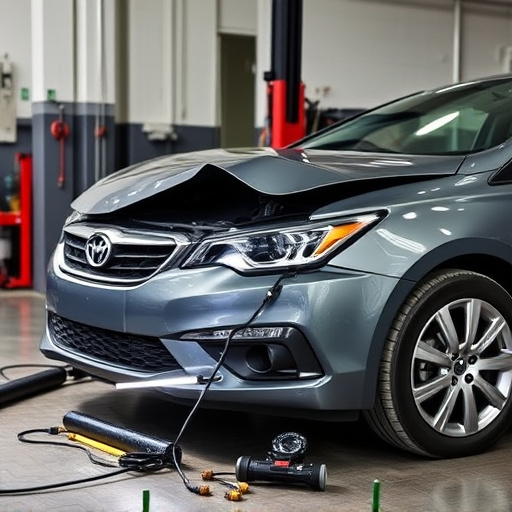
Chrome trim, a sleek and stylish element adorning many modern vehicles, is an integral part of a car’s aesthetics. It comes in various forms, primarily made from materials like plastic, metal, or even acrylic, each offering distinct advantages. When it comes to chrome trim replacement, understanding the material is crucial as it dictates the restoration process.
Different types of chrome trim require specific care and techniques for dent removal or repair. For instance, plastic chrome can be more susceptible to scratches and cracks, while metal trim might need professional car paint services for a seamless finish after any damage. Knowing these variations ensures that owners can effectively maintain their vehicle’s appearance post-replacement, keeping the chrome trim in top condition.
Preparation Tips Before Replacement Installation

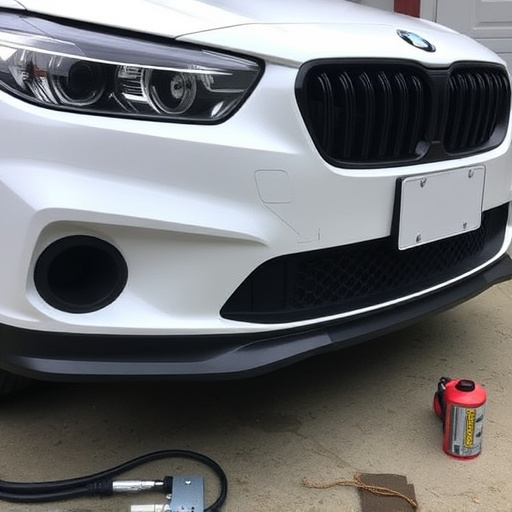
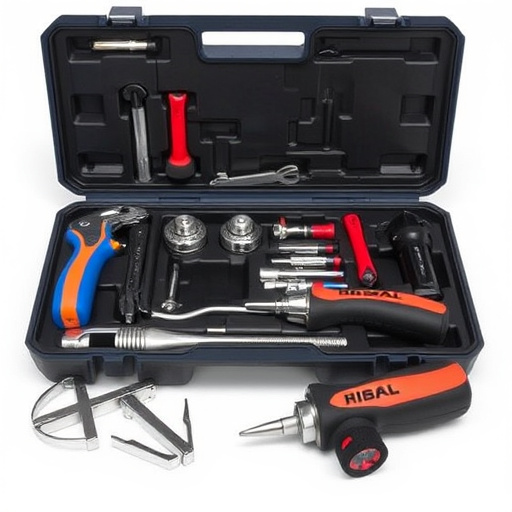
Before diving into the replacement process, proper preparation is key to ensuring a seamless installation and long-lasting results for your chrome trim. Begin by gathering all the necessary tools and materials, including the new chrome trim pieces, cleaning supplies, and any required adhesives or sealants. Ensure your work area is well-lit and organized to maintain efficiency during the installation.
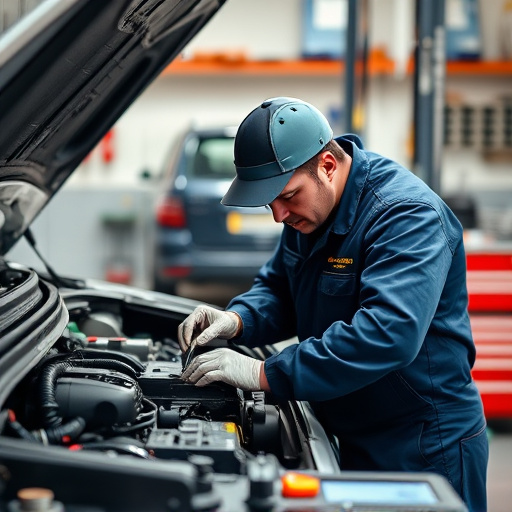
It’s crucial to thoroughly clean and prepare the existing trim panels before replacing them. This involves removing any loose debris, rust, or old adhesive residue using specialized auto body services tools and solutions. A quick pass with automotive-grade sandpaper can also help create a clean surface for better adhesion. Remember, proper preparation is a significant step in achieving that like-new look for your car restoration project.
Post-Replacement Care: Ensuring Longevity and Shine

Post-Replacement Care: Ensuring Longevity and Shine
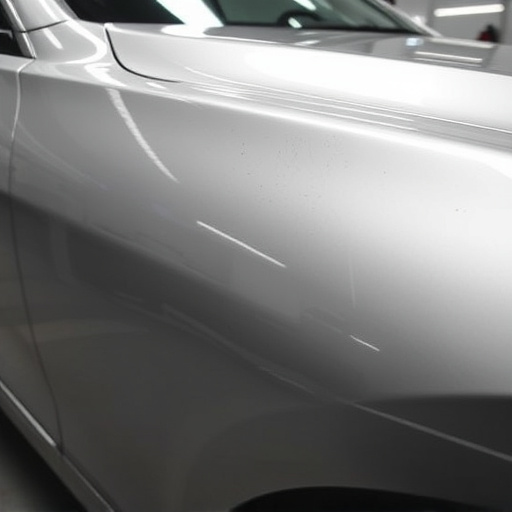
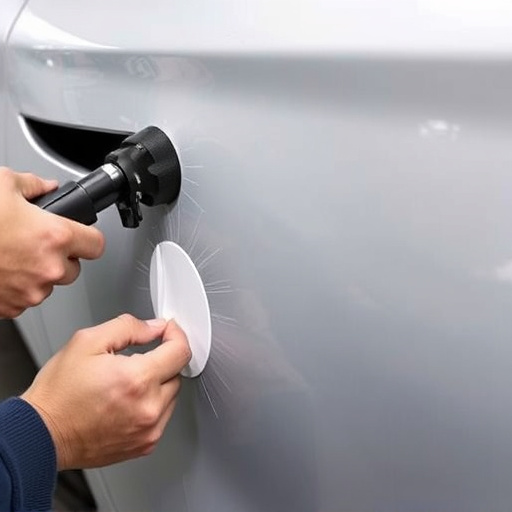
After successfully replacing your chrome trim, proper care is essential to maintain its lustre and extend its lifespan. This involves regular cleaning with a soft, microfiber cloth dampened with a mild detergent or car wash solution. Avoid aggressive scrubbers that could scratch the surface. Polishing can enhance the chrome’s shine but should be done sparingly to prevent excessive wear.
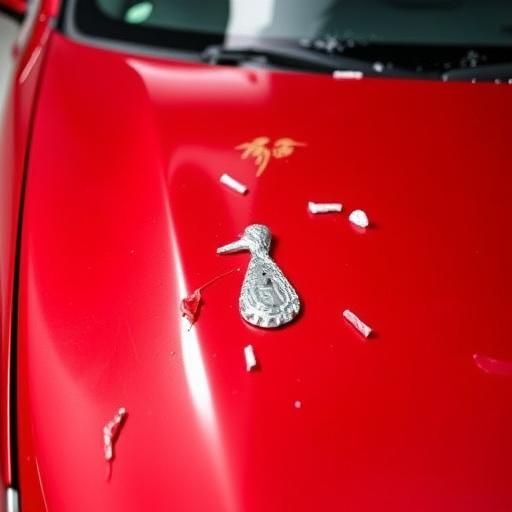
Additionally, protecting your new trim from environmental elements is crucial. Car body restoration techniques like applying a clear coat or automotive wax can create a protective barrier against road salt, UV rays, and other harsh conditions known to dull and deteriorate chrome trim over time. Regular washing and waxing will not only keep the trim looking new but also contribute to the overall vehicle restoration process.
After replacing your chrome trim, proper care is essential for maintaining its longevity and shine. By understanding the materials, preparing your vehicle before installation, and adopting effective post-replacement care practices, you can ensure your new chrome trim remains in top condition. Remember, regular cleaning, protection from harsh chemicals, and avoiding scratching or nicks are key to preserving the beauty of your chrome trim replacement.